
A Simple, Creative Workflow
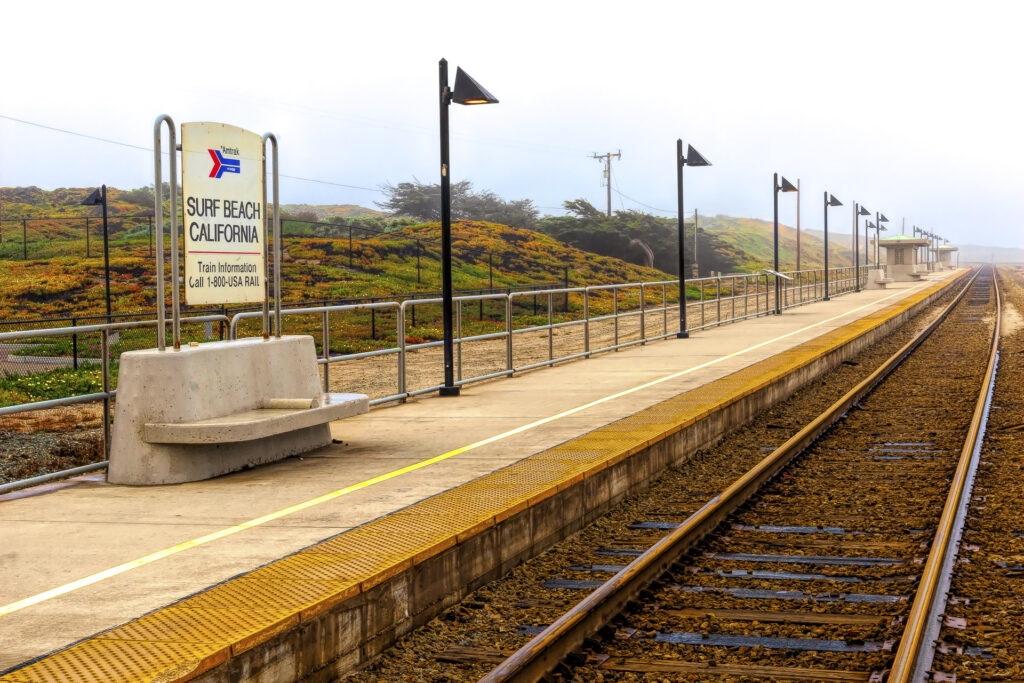
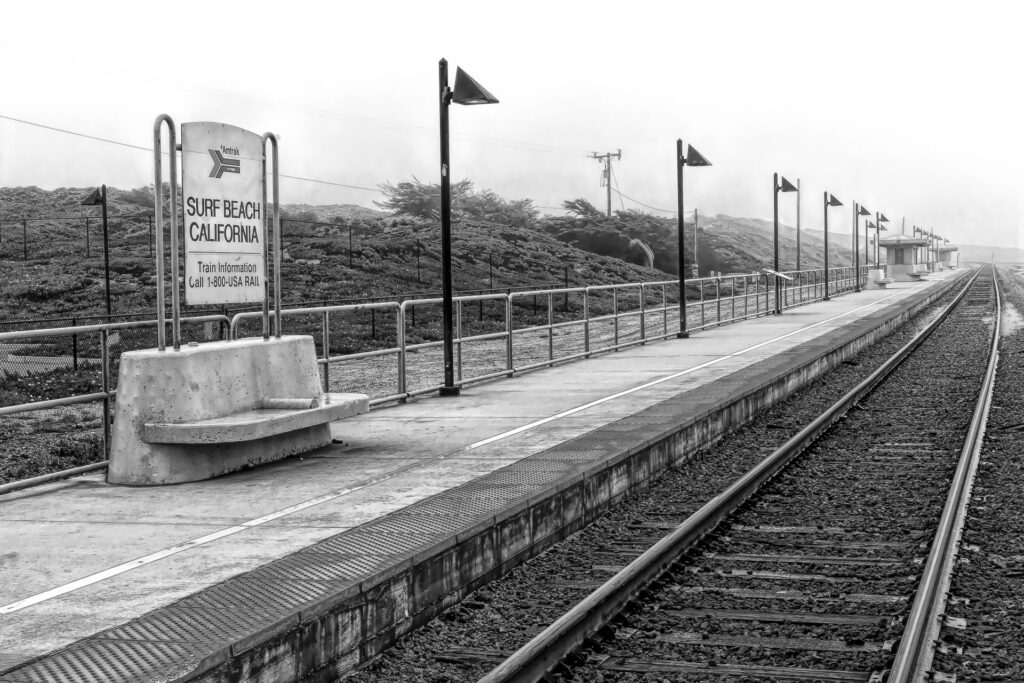
There’s something timeless about a well‑crafted monochrome image. Stripping away color lets texture, shape, and light take center stage—perfect for landscapes, desert scenes, and those dramatic Joshua Tree skies. If you’ve ever wondered how to turn a color photo into a rich, expressive black‑and‑white in Lightroom Classic, here’s a workflow that’s both simple and surprisingly powerful.
Start With the One‑Click Conversion
Lightroom gives you an instant jumpstart:
- Open your photo in Develop
- Hit V on your keyboard or click Black & White at the top of the Basic panel
Boom—your image is now monochrome. But this is just the beginning. The real magic happens in the adjustments that follow.
Build the Foundation in the Basic Panel
Before shaping the look, get your tones in the right place:
- Exposure sets your overall brightness
- Contrast adds punch or softens the scene
- Highlights/Shadows recover detail
- Whites/Blacks define your tonal endpoints
Think of this as leveling the canvas before you start painting.
Shape the Look With the B&W Mix
This is where monochrome becomes expressive. The B&W Mix panel lets you control how each original color translates into gray.
A few examples:
- Blues deepen or brighten skies
- Yellows/Greens shape foliage, sand, and desert plants
- Reds/Oranges influence skin tones and rock textures
For desert landscapes, nudging Blue downward and Yellow upward often creates a dramatic, sun‑washed look.
Add Depth With the Tone Curve
The Tone Curve is your secret weapon for mood:
- Add a gentle S‑curve for classic contrast
- Lift the black point for a soft, matte feel
- Lower the white point for smoother highlights
This is where your monochrome image starts to feel intentional rather than accidental.
Enhance Texture and Presence
Lightroom’s presence sliders can bring out the character of a scene:
- Texture enhances fine detail (great for rocks and Joshua Trees)
- Clarity boosts midtone contrast—use lightly
- Dehaze adds depth and atmosphere
A little goes a long way, especially in monochrome.
Use Local Adjustments to Guide the Eye
Monochrome thrives on controlled contrast. The Masking panel lets you shape light with precision:
- Linear Gradients to darken skies
- Radial Gradients to highlight key subjects
- Brushes to add texture or deepen shadows
These subtle touches help your viewer know exactly where to look.
Finish With Style
A few final tweaks can complete the look:
- A soft vignette to frame the scene
- A touch of grain for a film‑like feel
- Sharpening with the Masking slider to keep noise under control
Your image now has depth, mood, and intention—everything a great monochrome deserves.